Preserved Lemons: A Beginner's Guide to Salt-Curing and Using Them
October 30, 2026 - Lemon Recipes
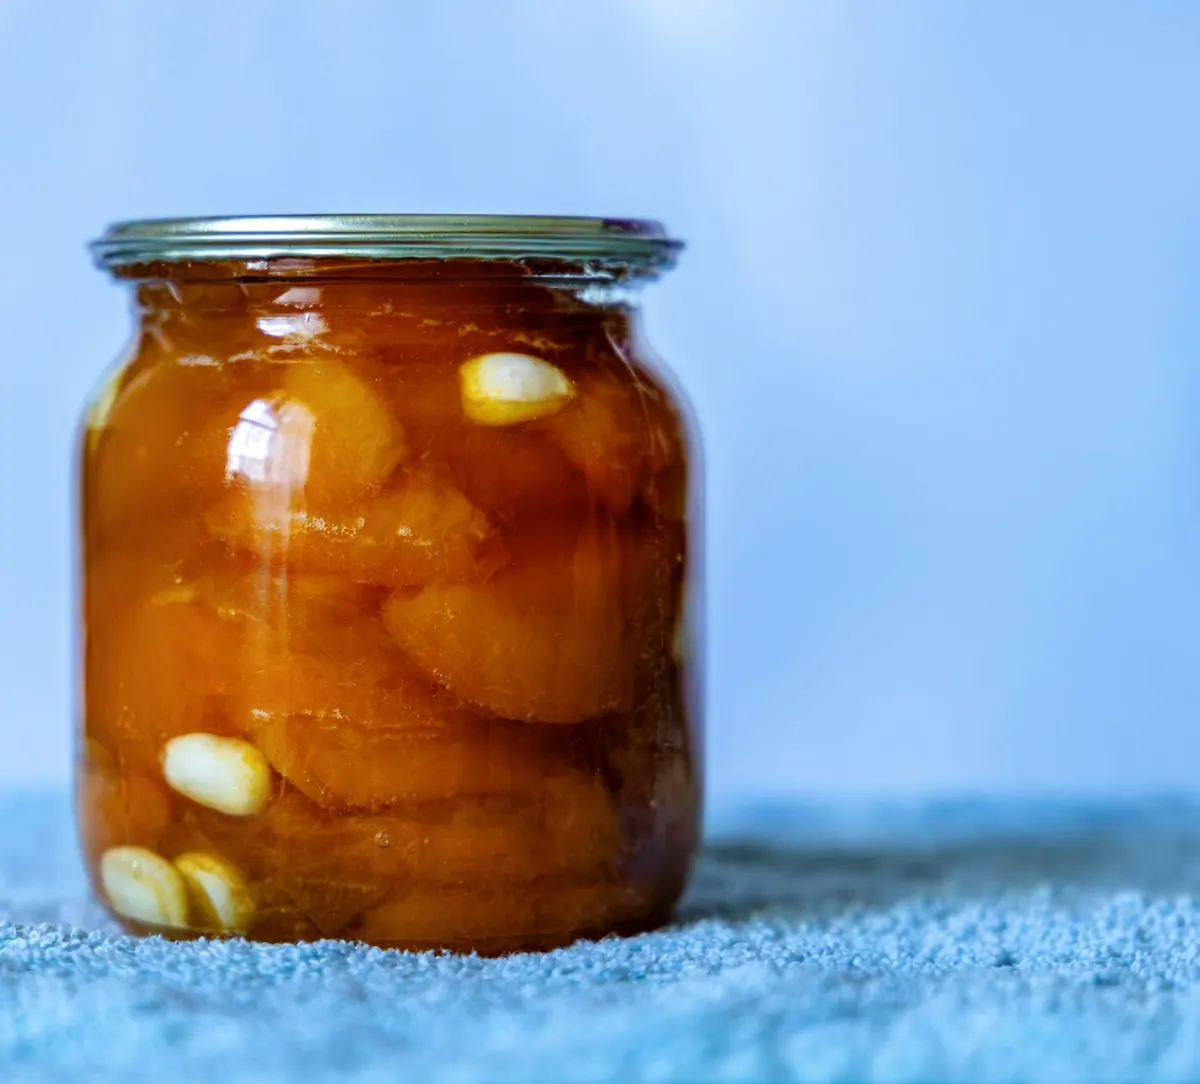
A jar of preserved lemons is one of the few kitchen projects that rewards neglect. You quarter a few lemons, pack them in salt, cover them with juice, and put the jar at the back of a cupboard. Weeks later you have something soft, salty and faintly fermented, the peel turned silky and the harsh bitterness gone. It is the backbone of a Moroccan tagine and a quiet workhorse in roast chicken, salad dressings and lentil soup. Bought jars are expensive for what they contain. Homemade ones cost almost nothing.
What follows is the whole method, from picking the fruit to using the last spoonful of brine. None of it is difficult, but a few details matter more than you might expect — particularly salt quantity and jar hygiene, which are where most first attempts go wrong.
Salt pulls moisture out of the peel, firming it at first and then, over weeks, softening it. The environment inside the jar — plenty of salt, plenty of acid from the juice, no oxygen at the surface — keeps spoilage organisms in check while enzymes slowly break down the rind's structure. Bitterness fades, the pith becomes edible, and the whole fruit takes on a savoury, rounded flavour that fresh lemon can't imitate.
Two practical consequences follow. First, you need enough salt; under-salting is the most common reason a jar fails. Second, the lemons must stay submerged. Any peel above the brine is a place where mould can take hold, and once it does, the jar is finished.
This is not a vinegar pickle and it is not candied peel. Think of it as a slow cure, closer to preserving in fat or sugar than to quick pickling. It also means you are not sterilising the lemons themselves — you are relying on salt and acid to do the work, which is why the ratios below are worth following rather than improvising.
Look for firm, heavy lemons with thin skins. Thick-skinned fruit with a fat layer of white pith makes spongy, bitter preserved lemons — you can still use them, but scrape away as much pith as you reasonably can before packing. Meyer lemons are wonderful here, though their thinner skins and higher sugar mean they cure faster and soften more; try them once you've made a standard batch or two.
Unwaxed fruit is ideal. If yours are waxed, scrub them thoroughly in warm water with a drop of washing-up liquid, then rinse well and dry. You are going to eat the peel, after all.
Trim the little stem nub from each lemon, then cut it into quarters lengthwise, stopping about a centimetre short of the base so the fruit stays in one piece and opens like a flower. This shape holds salt in the folds and packs neatly into a jar.
Clean hands, a clean knife and a properly washed jar will prevent almost every problem. So will keeping the fruit pressed below the brine — a folded piece of lemon skin, a small clean weight, or simply a tight pack will do it.
Learn to tell the harmless from the spoiled. A thin white film on the surface is usually yeast; skim it off, add a pinch more salt, and carry on. Fuzzy mould, blue-green patches, a slimy texture or a genuinely unpleasant smell mean the batch has gone. Discard it and start again rather than trying to scrape around the problem — the brine carries flavours you don't want.
Once the jar is open, always use a clean dry spoon or fork, and keep it closed between uses. Preserved lemons will sit happily in the fridge for a year, and many cooks think they improve after six months.
Three to four weeks is the minimum, and a month is a better target. Quartered lemons cure faster than whole ones. The signal you're waiting for is texture: the peel should be translucent, soften easily when pressed with a fingernail, and slice without resistance. If the pith at the centre is still hard, give it another fortnight. The brine will turn slightly cloudy and syrupy, which is normal.
Taste before you commit a whole lemon to a dish. The first batch is often saltier than expected, and that tells you how much rinsing you'll want to do later.
Rinse the lemon briefly under the tap, then scrape out and discard the pulp and the pithy core. What you want is the peel. Chop it finely — a quarter of a lemon is usually plenty for a dish serving four — and remember it is salty, so hold back on added salt until you've tasted.
Some reliable uses:
The brine is worth keeping too. A spoonful sharpens marinades, lifts a bloody mary, and seasons the water for boiled potatoes. Use it as you would a salty acid, tasting as you go.
Buy a bag of lemons, a box of coarse salt and a litre jar, and make a single batch before you commit to a shelf full. Keep it where you'll see it, shake it when you remember, and wait a month. If you get one thing right, make it the salt and the submersion — everything else is forgiving. Once that first jar is open, you'll find uses for it faster than you expected, and the second batch will go in before the first is finished.
Photo: Lena Ti / Pexels
A clear, practical guide to making limoncello at home from lemon zest, strong alcohol and syrup, with the specific...
A tour of Italy's best-known lemons — Sfusato Amalfitano, Sorrento, Interdonato, Femminello Siracusano and more —...
Copyright © 2026 Limone Del Fiume. All Right Reserved.